
The short answer: create room for decisions
Approach each fight as a cycle: observe the enemy, act with Emma, issue a Koo command when the situation is readable, then reset your spacing. The goal is not to perform every available action as quickly as possible. It is to keep enough control that a companion decision helps rather than competes with an emergency dodge or an unsafe sword commitment.
This principle follows the official description of a one-person, one-dog action RPG that blends real-time swordplay with command-based actions. Exact inputs and balance can change between preview material and the release build, so this guide deliberately emphasizes decisions that remain useful across control layouts and difficulty settings.
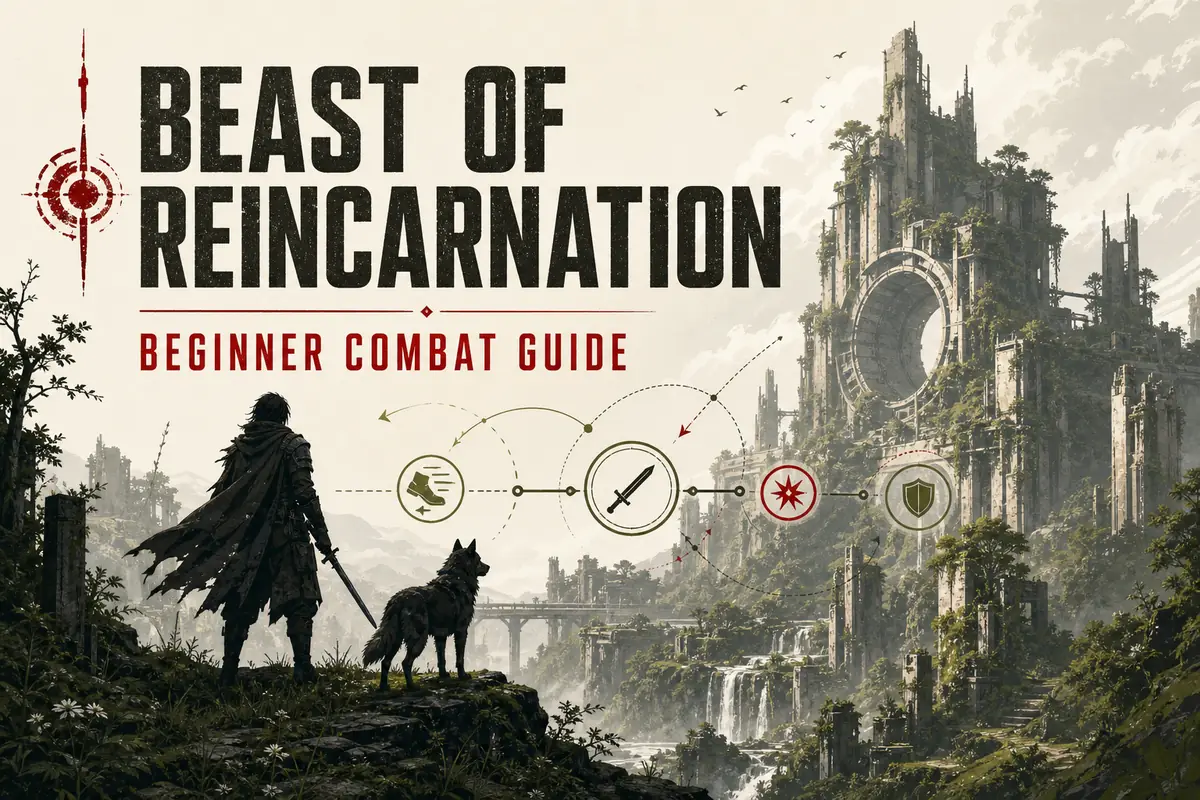
Understand the hybrid combat model before building habits
Emma appears to carry the immediate action burden. Movement, positioning, sword timing, and reaction to an enemy tell happen on the real-time layer. Koo adds a command layer: instead of treating the companion as background decoration, the player must decide when a command contributes to the exchange. Those two layers create the distinctive pressure of the system.
A common mistake in hybrid systems is to think of the command layer as free damage that should be activated the instant it becomes available. Availability and usefulness are different. If the enemy is entering a dangerous animation, Emma is trapped in recovery, or the camera has lost the target, adding another decision can reduce control. A safer habit is to earn a readable moment first.
Think in roles rather than memorized buttons. Emma establishes position and handles immediate threats. Koo changes the tactical state when you have enough information to choose well. The exact effects may vary, but the decision structure is stable: establish, read, support, and recover.

Nine first steps for your opening hours
- Observe one full enemy sequence
Give a new enemy enough time to show how it starts, continues, and ends an attack. One observed sequence is more valuable than several blind hits because it reveals the recovery window you can use safely. - Protect your camera and spacing
Keep the enemy, Emma, and the likely escape route readable. When scenery or a large target fills the view, move first and attack second. Information is a combat resource. - Use short sword commitments
Begin with the smallest attack sequence that lets you recover safely. Longer strings can wait until you understand interruption, stamina or equivalent limits, and enemy retaliation timing in the released build. - Treat Koo’s command as a decision
Before issuing a command, ask what problem it solves now: pressure, control, protection, setup, or recovery. If you cannot answer, keep observing instead of spending the option automatically. - Separate panic actions
Avoid dodging, attacking, changing targets, and issuing a companion command in the same instant. A half-second of sequencing can make the outcome easier to read and teach you which choice worked. - Reset after a successful exchange
Landing a hit is not permission to remain in danger. Return to a position where you can see the next tell. This prevents a good opening from becoming an avoidable trade. - Test one variable at a time
When you gain a new skill or command, try it in a controlled encounter before combining it with everything else. You will learn its range, timing, and purpose much faster. - Use difficulty and accessibility options intentionally
Steam lists adjustable difficulty and subtitle options. Choose settings that let you perceive the combat loop clearly; raising difficulty before you can read the system only adds noise. - Record facts, not impressions
If you are comparing equipment or commands after launch, repeat the same situation and note the result. One exciting hit is not enough evidence for a best-build claim.
A simple decision table for live combat
| Situation | Priority | Reason |
|---|---|---|
| Unknown enemy begins an animation | Observe and preserve space | The first goal is learning the tell and exit, not forcing damage. |
| Enemy finishes a long commitment | Use a short Emma action | A confirmed recovery is the clearest low-risk opening. |
| Koo command is ready but the view is unclear | Reposition first | A command chosen without information may waste its tactical value. |
| Emma has just completed an attack sequence | Check retaliation and reset | Greed after success causes many avoidable trades. |
| A new skill or item changes the rhythm | Test in isolation | Controlled comparison reveals what actually changed. |
| You repeatedly miss the same warning | Adjust settings or distance | Better perception is more useful than repeating a noisy attempt. |
Example: handling an unfamiliar large enemy
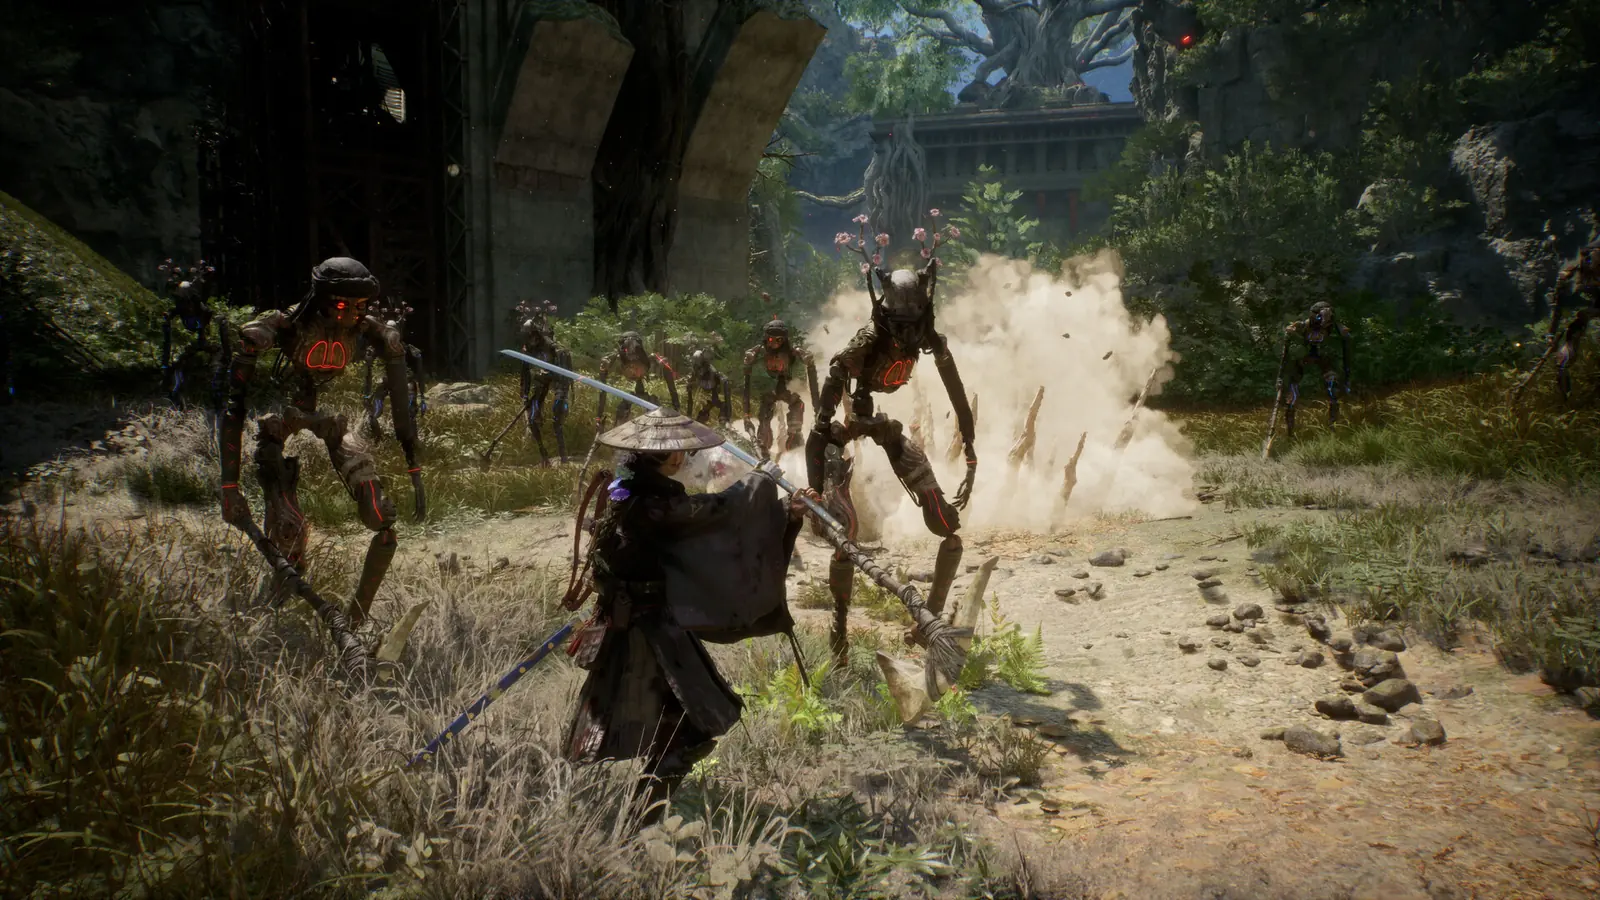
Imagine entering a clearing and meeting a large enemy for the first time. Do not begin by assuming the closest visible limb is a safe target. Circle at a distance that keeps the full body readable. Watch one approach attack and identify where the enemy stops. On the next repetition, move outside the path and use one short sword action during the recovery.
Now consider Koo. If the command can change pressure or create an opening, issue it only after you have confirmed that Emma is not about to dodge. Watch what changes: does the enemy redirect, stagger, expose a side, or continue unaffected? Whatever the result, return to neutral space instead of extending the sequence blindly.
After two or three controlled cycles, you have a useful model: the opening tell, the safe exit, the recovery length, and the apparent value of one companion choice. That is enough to begin experimenting. It is still not enough to declare a universal strategy, because difficulty, equipment, later skills, and enemy variants may alter the result.
Five habits that make the system harder to learn
Attacking before reading
Immediate aggression hides the enemy’s timing and makes every later choice reactive. Spend the first seconds collecting information.
Issuing commands on cooldown
A ready command is an option, not an obligation. Use it when it changes a clearly understood situation.
Extending every opening
Short, repeatable success teaches more than a long string that ends in a trade. Add commitment only after the recovery remains safe.
Changing several variables together
New equipment, skills, difficulty, and tactics changed at once make comparison impossible. Isolate one change.
Treating preview footage as a full manual
Trailers are edited to communicate excitement and features. They do not establish final values, every input, or complete progression.
What this guide will verify after release
The release build should let us replace broad principles with reproducible detail. Priorities include the exact command interface, resource rules, dodge and recovery behavior, targeting options, difficulty differences, skill descriptions, equipment effects, and accessibility settings. Each added claim should name the platform and game version used for verification.
We will also test whether apparently strong combinations remain strong across ordinary enemies and bosses instead of relying on one showcase clip. Numerical tables will appear only when their inputs are visible or repeatable. Until then, uncertainty labels are a feature of the guide, not a missing piece to hide.