
Beast of Reincarnation best sword: the short answer
The best sword depends on what you need from the next encounter. For a broadly useful late-game damage pick, AllThingsHow ranks First Moon at the top of its August 2026 tier list. For a more specific answer, VGC highlights Fall Thunder for tougher one-on-one fights, Thunderwave Sword for groups, and Shark Cutter for a straightforward critical-hit style. These are independent guide recommendations, not an official ranking from GAME FREAK.
If you want one practical rule, match the sword effect to the problem you can see: a group-control effect for several nearby enemies, a single-target effect for a duel, and a defensive or recovery effect when staying alive is the main difficulty. A weapon called “best” on a tier list can still be the wrong choice if its special effect does not help with the current fight.
The comparison below keeps the useful recommendations, their intended jobs, and the source boundary together. It does not reproduce every sword location or claim that a reported effect has been tested on every platform and patch. Check the weapon description in your own build before spending resources or changing a working setup.
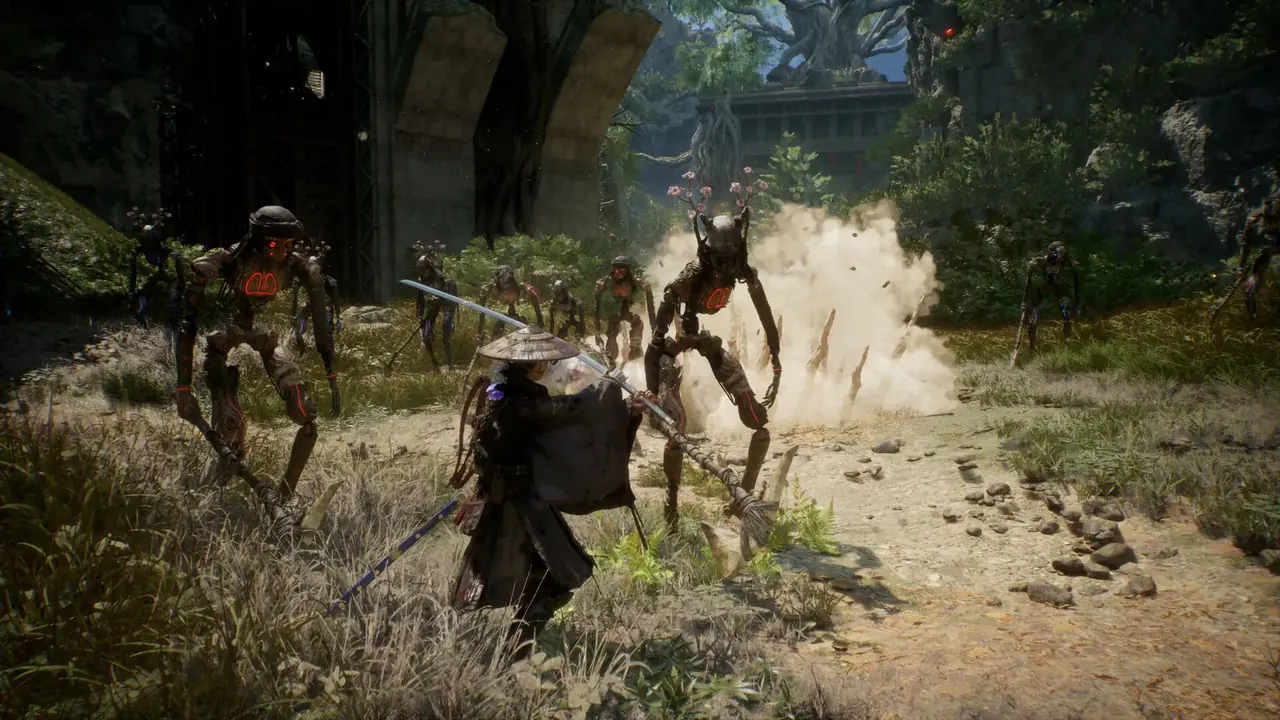
Which Beast of Reincarnation weapon is best for your goal?
Start with the result you want, not a universal tier label. The table is a quick decision aid drawn from named guide observations. “Best for” means that a guide describes the weapon as fitting that situation; it is not a measured damage benchmark from this wiki.
The table also makes an important distinction visible: a sword’s element or passive effect may matter more to your current plan than a small difference in a ranking. If an effect is not useful against the enemy in front of you, a nominally higher-ranked sword can feel worse in practice.
| Your goal | Sword to compare first | Why guides recommend it | Trade-off to consider |
|---|---|---|---|
| A strong all-round late-game option | First Moon | AllThingsHow places it at the top and describes its Weaken effect as useful against bosses and elites. | Its top-tier label is one guide’s judgment; check whether the effect is unlocked and useful in your build. |
| A tougher one-on-one fight | Fall Thunder | VGC says its stronger direct damage and Shock buildup suit duels better than Thunderwave Sword. | VGC’s recommendation is encounter-focused; this wiki has not measured damage. |
| Several nearby enemies | Thunderwave Sword | VGC highlights lightning strikes on nearby foes and group control through Shock. | Crowd control may add less value when a single target is the only threat. |
| More room for mistakes | Kanzashi | AllThingsHow identifies it as a sustain-oriented choice with a short recovery barrier. | A defensive effect trades a damage-first ranking for survival value. |
| A status-focused setup | Hunter’s Sword or Hazebringer | VGC describes Poison and Acid/Corrosion roles for these blades. | Use a status only when it helps the encounter; exact buildup values can vary by upgrade or version. |
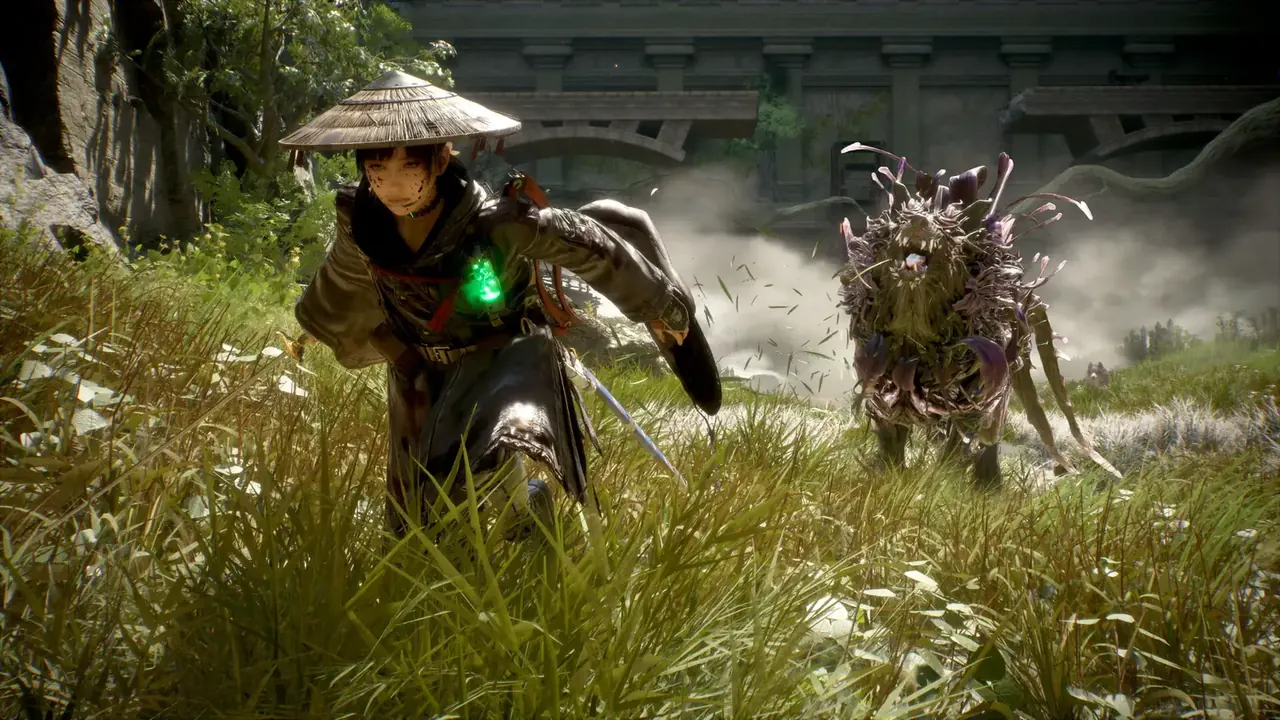
Why there is no universal best sword
A tier list compresses several questions into one order: damage, effect strength, availability, and how well a weapon fits the writer’s preferred build. Two useful guides can therefore disagree without either answer applying to every player. AllThingsHow gives First Moon, Black Blossom, Resonance Sword, and Kanzashi its top tier, while VGC spends more space on encounter-specific picks such as Fall Thunder and Thunderwave Sword. Read those rankings as different recommendations, not as a single official meta.
The game also asks you to make more than one combat decision. Emma’s sword is only one part of an exchange that includes spacing, timing, and Koo’s command layer. A sword effect that appears strong on paper may not help if you cannot safely create the opening to use it. For a repeatable combat loop, pair this comparison with the combat guide and treat each equipment change as a small test.
Rankings answer a snapshot question
A tier list records one guide’s judgment at one point in time. The author may value a high attack number, an element, or a passive effect differently from you. Confirm the current weapon text and upgrade level before treating a ranking as a fixed rule.
Use case is more portable than rank
“Helps control a group” or “supports a duel” tells you when to try a sword. That description remains useful even if a later patch changes a value or a better option becomes available. It is also easier to compare against your own fight than a letter grade.
Availability changes what “best” means
A late-game recommendation cannot help a new save that has not reached its unlock condition. Until you have a candidate in your inventory, the practical choice is the best-described weapon already available, not a future name at the top of a list.
Five Beast of Reincarnation sword picks by playstyle
These picks are a shortlist for comparing effects, not a claim that every player should equip all five. The source articles were checked on October 1, 2026. Their weapon observations are secondary reporting; the official publisher and store pages identify the game but do not publish a verified weapon tier list.
First Moon: compare it for a broad damage-and-debuff plan
AllThingsHow calls First Moon its standout and describes Ravenous Eclipse as applying Weaken on hits, up to two stacks. That makes it the clearest all-round recommendation in the reviewed tier list. Try it when you want pressure on a boss or elite, then compare the result with your current weapon in the same encounter.
Fall Thunder: compare it for a direct duel
VGC describes Fall Thunder as a more traditional sword with stronger direct damage and Shock buildup than Thunderwave Sword, making it a better fit for one-on-one fights in that guide. It is a useful comparison when you want a focused target rather than nearby lightning effects.
Thunderwave Sword: compare it when the group is the problem
VGC notes that its lightning strikes can reach nearby foes and add Shock buildup. This is the most clearly described group-oriented pick in the sources reviewed here. If one enemy is isolated, test whether its area effect still helps enough to justify your choice.
Kanzashi: compare it when recovery matters
AllThingsHow places Kanzashi among its top swords because its described effect provides a short rejuvenating barrier. If a long encounter is ending runs, a survival-oriented effect may be more useful than a damage-first recommendation. Verify the effect text in your inventory before planning around it.
Hunter’s Sword or Hazebringer: compare status plans
VGC describes Hunter’s Sword as a Poison option and Hazebringer as an Acid/Corrosion option. These are examples of a status-oriented choice: they are worth comparing when that effect supports your current enemy or build. Do not assume a status is automatically effective against every boss.
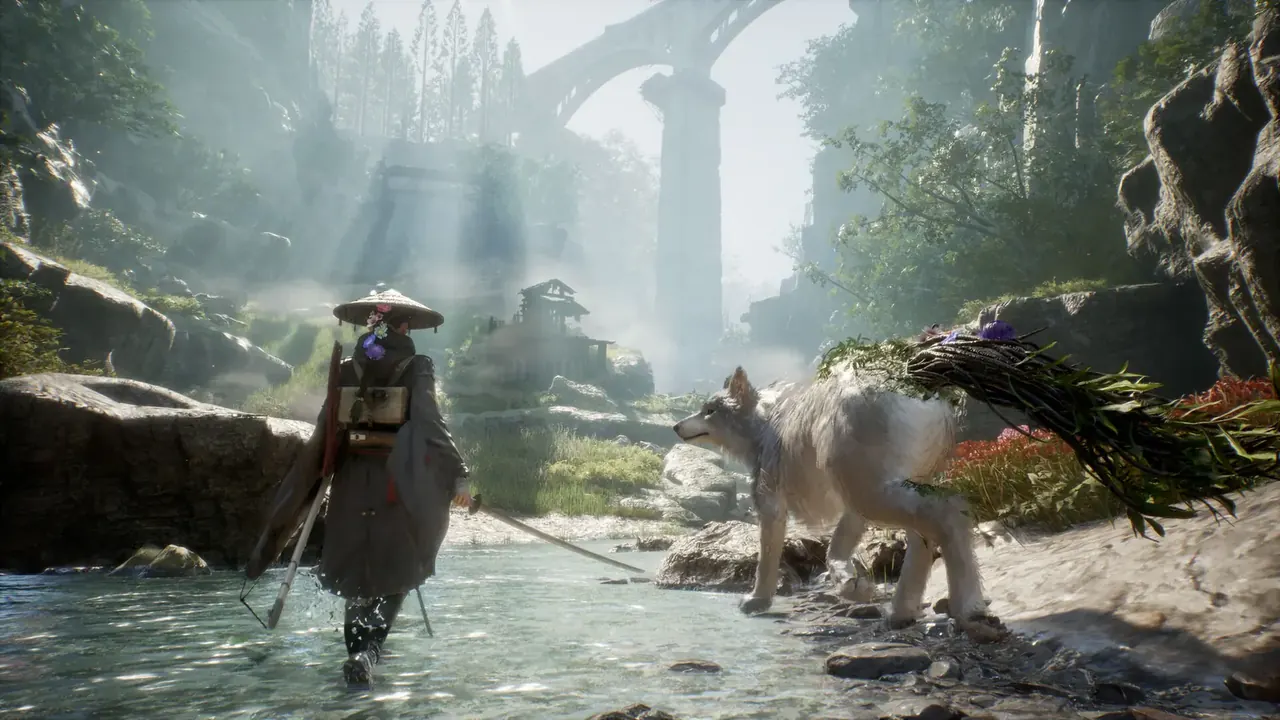
How to test the best sword in your own build
A short repeatable comparison can tell you more than swapping equipment in the middle of a long run. Choose one encounter you can reach consistently, keep difficulty and companion behaviour steady, and change only the sword. Record what happened rather than relying on memory. This does not produce a laboratory damage benchmark, but it can show whether the weapon’s effect helps your actual playstyle.
Avoid comparing a familiar upgraded sword with a newly found sword at a different upgrade level and calling the result a weapon ranking. Write down both item names, visible effect text, upgrade state, platform, and date. If the game gives a clear enemy response or status indicator, note that too. Repeat the same test once before treating a one-off result as a dependable rule.
- 1. Pick one repeatable fight
Use the same enemy or encounter and begin from a similar position. Do not compare a group fight with a boss duel. - 2. Record the conditions
Note platform, game version if shown, difficulty, sword name, upgrade state, and any companion setup you changed. - 3. Change one thing
Keep the route and your approach steady while swapping only the sword. This makes the result easier to interpret. - 4. Watch the effect, not only the finish time
Look for the intended result: safer spacing, a visible status, control of nearby enemies, or more reliable recovery. - 5. Repeat before recommending
Try the comparison again. If the outcome changes, describe the uncertainty instead of promoting a universal winner.
What this weapon comparison verifies—and what it does not
The top search results offer a tier list, a short best-sword guide, and a complete effects-and-locations catalogue. This page uses them for reported use cases and keeps their source type visible. It does not claim direct hands-on testing by this wiki, exact damage-per-hit values, a complete 21-sword inventory, or a definitive patch-specific meta. That boundary matters because a location guide and a choice guide answer different questions.
If you are looking for every sword and its route, use the trophy guide for collection planning and follow a dated location source only after checking it against your game. If you need a boss-by-boss strategy, use the walkthrough and record the platform and version. The weapon answer here is deliberately narrower: compare a handful of reported roles and choose the one that solves your current problem.
| Claim type | What this page can say | What still needs checking |
|---|---|---|
| Official fact | The official publisher/store identify the game and its platforms. | They do not provide this page with an official weapon ranking. |
| Secondary guide report | Named guides recommend swords for specific effects or encounters. | The recommendation may reflect that guide’s build and snapshot. |
| Personal test | A controlled comparison can show what feels useful in your own run. | One player’s result does not establish a universal meta. |
| Patch-sensitive detail | Read the effect and upgrade text in the current build. | Recheck names, numbers, unlocks, and balance after updates. |
Sources and related Beast of Reincarnation guides
The weapon-specific recommendations on this page are secondary-source observations checked on October 1, 2026. AllThingsHow provides a tier-list snapshot and a separate effects/location list; VGC describes individual use cases. The official publisher and Steam pages are linked for first-party game context. Promotional screenshots on this page come from the existing official Steam media gallery and illustrate the game only; they do not substantiate weapon statistics.
For the broader encounter loop, read the combat guide. Use the gameplay guide for Emma, Koo, and exploration context, the walkthrough for progression questions, and the trophy guide if your goal is collecting every weapon. Those pages keep their own search intent rather than repeating this comparison.